
Looking over the posts from last year I was surprised at how few bread recipes I had posted. I love to bake bread and I'm quite good at it. I have several favorite recipes. My garlic knots are excellent, the honey yeast knots/rolls are so versatile, and I have a fantastic sandwich bread recipe.
All of those recipes are similar. You mix the dough, you knead the dough, you let it rise, you shape the dough, and you bake it. That's pretty standard for bread. I love to use my wonderful stand mixer to knead the dough, but it's also fun to knead by hand. It's a fabulous stress reliever.
I see tons of recipes on Pinterest where the description says "no knead bread" but when you click the link and read the recipe you find out that you do in fact have to knead the bread. (Sometimes I think they label it as no-knead because the recipe says to use the stand mixer or bread machine to knead the bread.) This recipe truly is no-knead bread. You just mix the ingredients up and let it rise.
I discovered this recipe a little over a year ago and used it regularly for awhile, but for some reason I just kind of forgot about it recently. The bread is sturdy enough to be sliced, but because the dough is so bubbly the slices aren't great for sandwiches. I prefer to cut the bread into chunks to dip into soups or slice it very thick and make garlic toast with it. It goes exceptionally well with beef stew.
If you've never worked with yeast before this is a perfect beginner's recipe. It's a simple, no fuss recipe that will help build your bread baking confidence.
Just one more short story before we get to the recipe.
When I was six or seven years old we had a neighbor who lived across the street. She was an older lady who went to church with us. Every now and then she would bring us a loaf of fresh baked bread wrapped in aluminum foil that, at the time was just about the best thing I had ever tasted. I could have eaten the entire loaf all by myself. Just give me a little butter and I could make it a meal.
The first time I made this peasant bread I was thrown back into my childhood. The smell and taste of the bread is almost identical to my neighbor's bread. And let's be honest, not a lot of things in life are better than bread so fresh the butter melts into it before you can spread it.
Try it!
Peasant Bread
Source: Alexandra's Kitchen
4 cups all purpose flour (If you want wheat bread you can use 1 1/3 cups wheat flour and 2 2/3 cups white flour but remember that the wheat bread will be significantly more dense.)
2 tsp kosher salt
2 cups warm water (105-115 degrees)
1 Tbsp sugar
2 1/4 tsp active dry yeast (or 1 packet)
2 Tbsp softened butter (optional, could substitute vegetable oil spray)

In a 2-cup liquid measuring cup combine the water and sugar and mix with a fork until the sugar is dissolved. Sprinkle the yeast over the top and let sit 5-10 minutes until the yeast dissolves and swells. (It will look a bit foamy.)

In a large mixing bowl combine the flour and salt.

Mix with a fork or wire whisk.

Pour the water/yeast mixture into the flour mixture.

Stir gently with the fork or whisk until the ingredients are just combined.
Mix with a fork or wire whisk.
Pour the water/yeast mixture into the flour mixture.
Stir gently with the fork or whisk until the ingredients are just combined.
Cover the bowl with plastic wrap or a clean kitchen towel. Place in a warm area to rise for at least one hour or up to two hours, the longer the better.

Preheat the oven to 425 degrees. Grease the inside of a 9x5 loaf pan with the softened butter. (You could also spray it with vegetable oil spray instead of using the butter.)

Use a fork or silicone spatula to gently punch down the dough (deflating most of the bubbles).
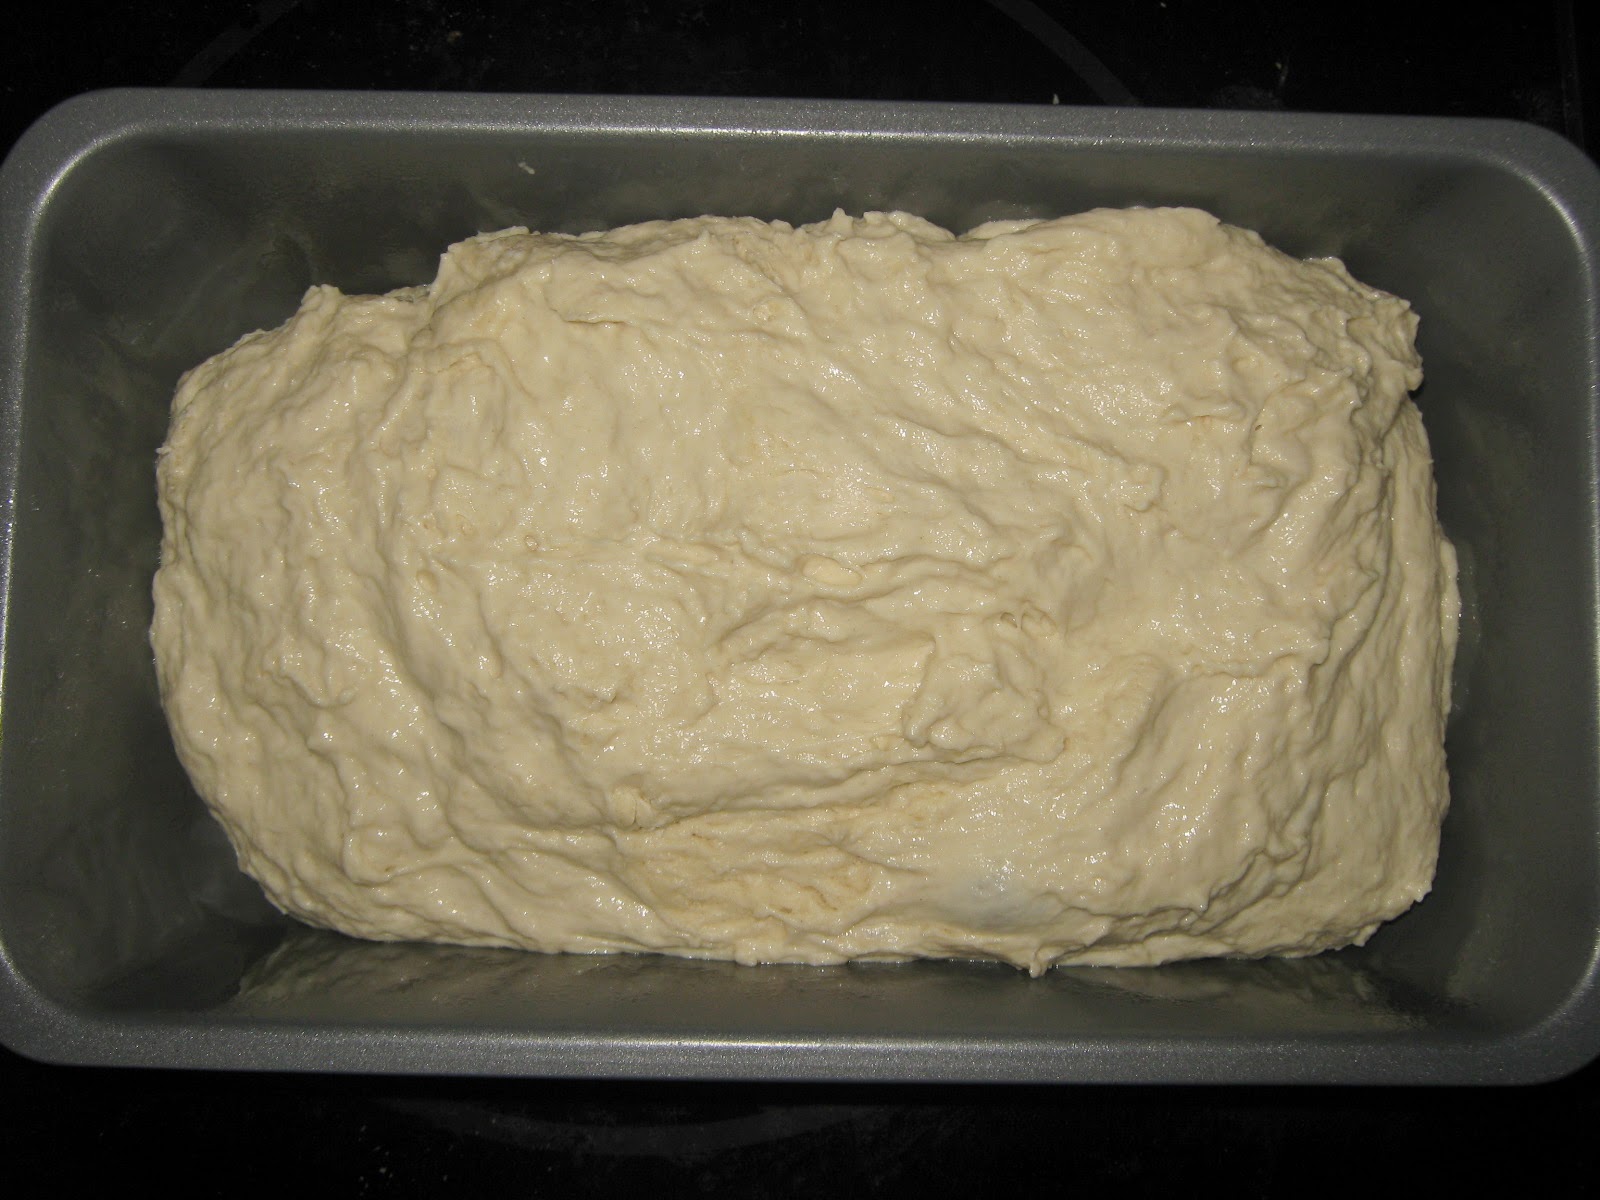
Scrape it into the prepared loaf pan.
Scrape it into the prepared loaf pan.
Set the pan aside to rise for another 20-30 minutes, until the dough is about level with the edge of the pan.
Sorry, I lost my photo for this step.
Sorry, I lost my photo for this step.
Bake for 15 minutes at 425 degrees. Reduce the heat to 375 and bake for another 15-17 minutes.

Remove from the oven and turn out onto a cooling rack.
Remove from the oven and turn out onto a cooling rack.
Allow to cool at least 10 minutes before cutting.
Serve with soup or chili or just eat a big chunk slathered in butter.
No comments:
Post a Comment